How to Officiate a Wedding for the First Time: A Complete Beginner's Guide
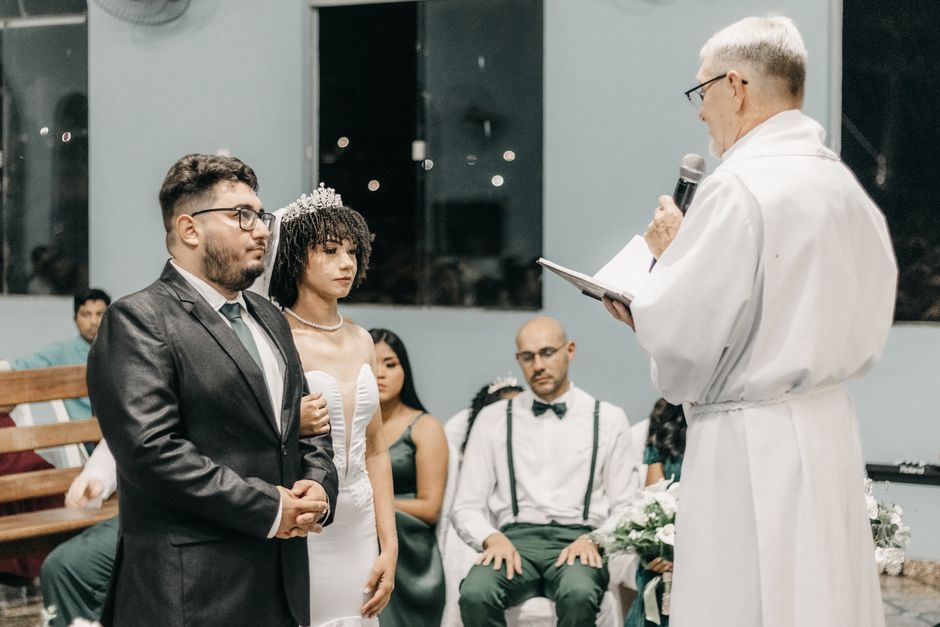
Someone you love just asked you to officiate their wedding. After the initial rush of “I’m so honored,” it’s completely normal for that feeling to be followed by a quieter one: wait, what do I actually do now?
Here’s the good news — officiating a wedding is one of those things that looks intimidating from the outside and is very manageable once you break it into steps. Thousands of first-time officiants do this every year with no religious training, no public-speaking background, and no legal expertise. This guide walks you through the entire process, start to finish, in the order you’ll actually need to do it.
Why couples choose a friend instead of a professional
Before diving into the how, it’s worth understanding the why — it’ll help you approach the role with the right mindset. Couples who ask a friend or family member to officiate are usually choosing intimacy over polish. They want the person marrying them to actually know their story, not read from a script written for strangers. That’s the real job: not performing a flawless ceremony, but representing the couple’s relationship honestly in front of the people who love them.
Keep that in mind whenever the “am I doing this right” anxiety creeps in. You were chosen because of your relationship with the couple, not despite your lack of officiant credentials.
Step 1: Get ordained (usually free, takes 10 minutes)
In most US states, anyone can become an ordained minister online through organizations like the Universal Life Church (ULC) or American Marriage Ministries (AMM). The process is simple: fill out a form with your name and contact information, confirm your email address, and you’re ordained — no interview, no religious test, no waiting period.
A few things worth knowing about this step:
- It’s non-denominational. You don’t need to hold any particular religious belief, or any belief at all, to get ordained this way.
- It’s typically free, though some organizations offer optional paid add-ons like a physical ordination card or an expedited certificate — neither is legally necessary in most states.
- Some states require an extra step. A handful of states (California and New York City are the most notable examples) require online-ordained officiants to register with a specific government office before the wedding. This varies by state, so check our state-by-state legal guides for the exact requirements where the wedding will take place.
Do this step early — ideally within the first week or two after saying yes — so you have plenty of time to handle any state-specific registration requirements without a last-minute scramble.
Step 2: Confirm the legal requirements for that state
Every US state has slightly different rules about who can officiate a wedding and how the paperwork works. A few things vary state to state:
- Whether online ordination is recognized at all (nearly all states accept it, but a few have edge cases)
- Whether the officiant needs to register with the county or state before the ceremony
- How long the couple’s marriage license is valid before it expires
- How many days you have after the ceremony to return the signed license
Some states even allow “self-uniting” marriages, where no officiant is legally required at all — the couple and witnesses simply sign the license themselves. Pennsylvania is the best-known example of this.
Don’t guess on any of this. A five-minute phone call to the county clerk’s office where the marriage license will be issued clears up everything, and it’s worth doing even if you’ve read about the requirements online — local practices sometimes differ slightly from the letter of the state law.
Step 3: Meet with the couple
Before you write a word of the ceremony, sit down with the couple — in person, on a video call, or even over a shared document — and ask them about their relationship. This conversation is the foundation of a ceremony that actually sounds like them rather than a generic template.
Questions worth asking:
- How did you two meet, and what was your first impression of each other?
- What tone do you want: funny, formal, emotional, brief, or some mix?
- Do you want any religious or spiritual elements included, or should the ceremony be entirely secular?
- Are there specific readings, rituals, or family traditions you’d like incorporated?
- Is there anyone you’d like acknowledged during the ceremony — a parent who passed away, a family member who couldn’t attend?
- Do you want traditional vows, personal vows you write yourselves, or a mix of both?
You don’t need to use everything they tell you. The goal is to gather enough raw material that you can pick two or three specific, telling details and weave them into the ceremony — the kind of detail that could only apply to this exact couple, not a template.
Step 4: Choose or write your ceremony script
This is usually the part that causes the most stress — and it’s also the part that’s easiest to solve. You don’t have to write a ceremony from scratch, and honestly, most officiants shouldn’t; even professional officiants build their ceremonies from a small set of proven structures rather than reinventing the format every time.
A typical ceremony has seven parts, and you’ll write or adapt something for each:
- Opening — welcoming guests and setting the tone
- Reflection on the couple — a short passage about who they are and why this moment matters
- Readings (optional) — a poem, quote, or passage the couple has chosen
- Declaration of intent — the formal “do you take this person” moment
- Vows — traditional or personal
- Ring exchange — a short piece of symbolic wording
- Pronouncement — the “I now pronounce you married” moment
If you’d rather not draft all seven sections yourself, our Ceremony Script Bundle gives you six complete, ready-to-use scripts in different styles (traditional, modern, short and sweet, interfaith, elopement, and vow renewal), plus a mix-and-match library of openings, readings, and closings, so you can build a fully custom ceremony around the couple’s personality in under an hour.
Step 5: Handle the marriage license
This is the step that trips up more first-time officiants than any other part of the process, purely because it happens in the emotional chaos right after the ceremony ends.
Here’s how it works: the couple applies for their marriage license before the wedding (this is their responsibility, not yours, though it’s worth confirming they’ve handled it). You, as the officiant, sign the license during or immediately after the ceremony, along with the required witnesses. Then — and this is the part people forget — someone has to physically return the signed license to the correct county office within a specific window, which can be as short as a few days in some states.
Before the wedding, confirm three things directly with the couple:
- Where the physical marriage license will be at the time of the ceremony
- Who is responsible for returning it to the county after everyone signs
- What the exact filing deadline is for that state
Put the filing deadline on your own calendar the moment the ceremony ends. It’s easy to lose track of a five-day window in the middle of a reception.
Step 6: Attend the rehearsal
Even a 20-minute rehearsal the day before (or the morning of) prevents most day-of confusion. At a minimum, walk through:
- Where you’ll stand, and where the couple will stand relative to you and the photographer
- When to cue the processional music
- The order people walk in, and who walks with whom
- Who is holding the rings, and exactly when they’re handed over
- What happens if it rains, for outdoor ceremonies
A rehearsal is also your last chance to do a full read-through of your script out loud, ideally at the pace and volume you’ll actually use, so you can catch anything that reads awkwardly or runs long.
Step 7: Officiate the ceremony
On the day itself: arrive at least 30-60 minutes early, keep a printed copy of your script even if you’ve memorized it, and do a quick sound check if you’re using a microphone.
Once you’re standing up there, remember the single most useful piece of mental reframing available to any nervous officiant: guests are rooting for you. Nobody in that audience wants you to stumble. They want to watch two people they love get married, and you’re the person making that happen. A two-second pause to find your place, a small mispronunciation, a moment of emotion in your voice — none of it will be remembered nearly as much as you fear it will in the moment.
What to bring on the day
A short packing checklist that prevents most last-minute panic:
- Printed ceremony script (two copies, in case one is damaged)
- The marriage license, if you’re the one responsible for bringing it
- Proof of ordination, in case it’s requested
- A backup pen
- Water and a light snack, especially if there’s a long gap between arrival and the ceremony start
- Tissues — for you, the couple, or a guest
You’ve got this
Every officiant, professional or not, was a first-timer once. With a solid script, a clear legal checklist, and a little preparation, you’ll deliver a ceremony this couple remembers for the rest of their lives — for all the right reasons. If you want the whole process handled in one download — scripts, timeline, legal checklist, and day-of run sheet together — see the Complete Officiant Bundle.

Comments
Leave a comment